Ask any experienced substation commissioning engineer what the most underestimated step in a 220 kV switchyard installation is, and the answer is almost always the same.
Alignment.
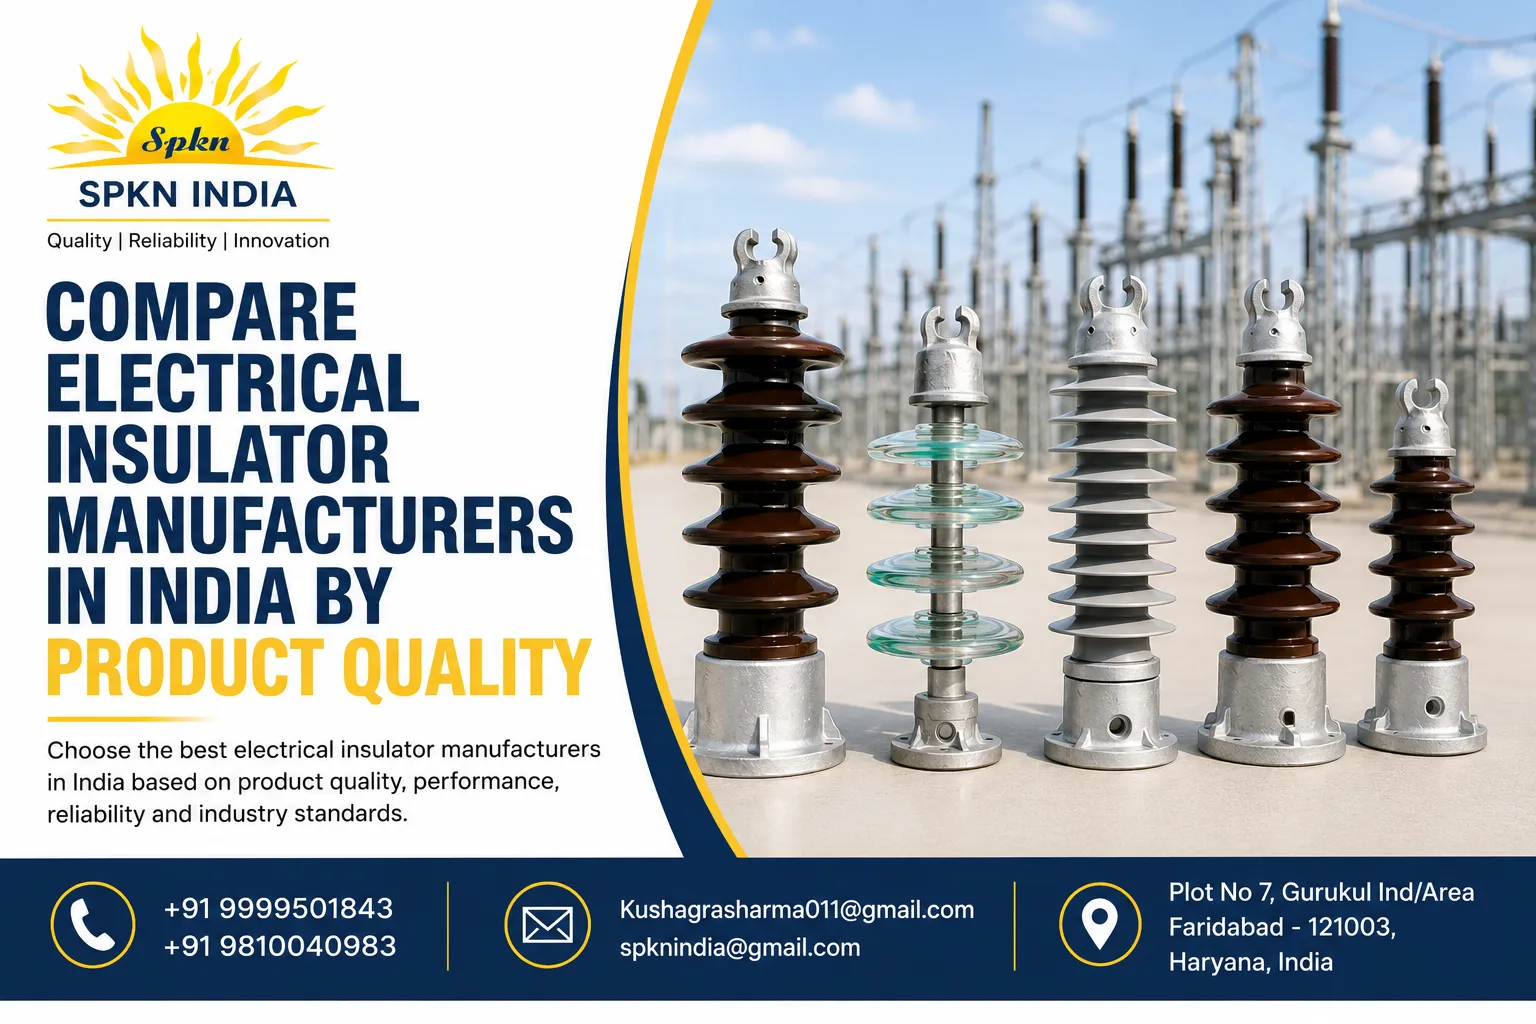
Everyone focuses on the civil foundation, the equipment erection, the cabling, and the protection settings. Then the 220 kV Outdoor Isolator gets bolted down, the operating mechanism gets connected, and the team moves on assuming everything will fall into place.
It rarely does.
A misaligned 220 kV Outdoor Isolator is not just a mechanical inconvenience. It is a potential source of high contact resistance, premature contact wear, mechanism overload, incomplete isolation, and in the worst cases, a contact failure under load that triggers a fault on a live 220 kV system.
This step-by-step guide walks you through the complete alignment process after installation, from foundation checks through to final contact pressure verification, written specifically for site engineers, EPC contractors, and commissioning teams working on 220 kV substation projects across India.
Why Alignment Matters More at 220 kV Than at Lower Voltages
Before getting into the procedure, it is worth understanding why alignment is so critical at this voltage level specifically.
At 11 kV or 33 kV, contact pressure tolerances are relatively forgiving. Small misalignments may cause slightly elevated contact resistance but rarely lead to immediate operational problems.
At 220 kV, the stakes are fundamentally different.
The current carrying capacity is higher. A 220 kV outdoor isolator typically carries continuous currents of 1600A, 2000A, or higher. Even a small increase in contact resistance due to misalignment generates significant heat at these current levels. That heat accelerates contact degradation, increases the risk of contact welding, and can trigger thermal runaway.
The mechanical forces are larger. The blade assemblies, insulator stacks, and drive linkages on a 220 kV isolator are physically much larger and heavier than lower voltage equivalents. Misalignment places asymmetric mechanical stress on pivot bearings, drive rods, and insulator necks that accumulates over operational cycles and leads to premature mechanical failure.
The air clearance requirements are tighter relative to the equipment geometry. A misaligned blade that swings slightly out of its designed arc can reduce the air clearance to adjacent live parts or earthed structures below the minimum safe value for 220 kV.
The cost of getting it wrong is enormous. A contact failure or insulator fracture on a 220 kV system can damage busbars, transformers, and connected equipment worth crores of rupees, in addition to triggering a major outage on a transmission-level circuit.
Getting alignment right during commissioning is always time well spent.
Tools and Equipment You Will Need
Before starting the alignment procedure, ensure the following are available on site:
- Manufacturer's installation and alignment drawing for the specific isolator model
- Steel measuring tape and vernier caliper
- Spirit level and plumb bob
- Feeler gauges for contact gap measurement
- Contact resistance test set (micro-ohmmeter, typically 100A DC injection)
- Torque wrench set calibrated to manufacturer specifications
- Operating mechanism adjustment tools as specified by the manufacturer
- Personal protective equipment for work on de-energised HV equipment
- Switching permit and work authorisation documents
- Commissioning test record sheets
Never begin alignment work without a valid permit to work and confirmed de-energised status of all adjacent circuits. At 220 kV, the induction hazard from adjacent live circuits is real even when the isolator circuit itself is de-energised.
Step 1: Verify Foundation and Structure Levelness
Alignment of the isolator blade and contact assembly begins at the base. If the supporting structure is not level and plumb, no amount of blade adjustment will produce correct contact alignment.
What to check:
Start by placing a precision spirit level across the top mounting face of each insulator column base. At 220 kV, a double break horizontal rotating isolator typically has three insulator column bases: two fixed end columns and one central rotating column.
All three column bases must be level within the tolerance specified in the manufacturer's drawing, typically within 1 to 2 mm across the full base width.
Check the vertical plumbness of each insulator column using a plumb bob suspended from the top insulator cap. The column must be vertical within the specified tolerance. A leaning insulator column shifts the entire contact geometry off its designed axis.
Check the inter-column spacing. Measure the distance between the centrelines of the two fixed end columns and verify it matches the manufacturer's drawing dimension. Incorrect spacing affects the blade reach at full close and the contact overlap geometry.
If you find a problem at this stage:
Foundation or structure levelness issues must be corrected before proceeding. Shimming the structure base is acceptable within the manufacturer's specified shim limits. Do not proceed to blade adjustment while the structure is out of level, as you will be chasing a moving target.
Step 2: Check Insulator Column Integrity and Cap Alignment
With the structure confirmed level, inspect each insulator column before any operational testing.
Visual inspection points:
- Check every insulator disc or shed for chips, cracks, or transport damage. Even hairline cracks on a 220 kV insulator are rejection criteria.
- Verify that all insulator cap and pin hardware is fully tightened to the specified torque. Loose cap hardware allows the column to twist under operating forces.
- Confirm that the top metal cap of each insulator column is correctly oriented relative to the isolator axis. The cap orientation determines the starting geometry of the blade and contact assembly mounted above it.
- Check that the arcing horn assembly, where fitted, is correctly positioned and the horn gap setting matches the manufacturer's specification.
Any damaged insulator must be replaced before commissioning. A cracked insulator on a 220 kV isolator is not a cosmetic defect. It is a safety hazard that will fail under voltage stress.
Step 3: Set the Rotating Column to Its Neutral Position
On a double break horizontal rotating isolator, the central column rotates to drive the blade arms into contact with the fixed end contacts. Before adjusting anything else, the rotating column must be set to its correct neutral or mid-position as defined in the manufacturer's drawing.
How to do this:
Refer to the manufacturer's alignment drawing for the neutral angle of the rotating column. This is typically defined as the column position when the isolator is in the fully open position with the blades pointing in the specified direction relative to the busbar axis.
Using the operating mechanism in manual mode, rotate the central column slowly to the open position. Measure the blade arm angle using a protractor or the angular reference marks provided on the column flange.
Adjust the mechanism coupling to achieve the correct neutral angle. This adjustment is made at the linkage connection between the operating rod and the rotating column shaft, using the turnbuckle or clevis adjustment provided.
Lock the adjustment and recheck the angle after locking. Linkage adjustments often shift slightly when the locking hardware is tightened.
Step 4: Adjust Blade Arm Length and Reach
With the rotating column at its correct neutral position, the next step is to verify and adjust the blade arm reach so that the blade tip arrives at the correct contact engagement point on the fixed contact assembly.
The correct contact engagement point has three characteristics:
- The blade tip enters the contact jaw centrally, not offset to one side
- The blade penetrates to the specified insertion depth as shown on the manufacturer's drawing
- The blade tip does not bottom out against the contact jaw back stop, which would indicate over-travel
How to adjust blade reach:
Most 220 kV outdoor isolators have an adjustable blade arm length, achieved through a threaded connection at the blade root or a telescoping blade section. Refer to the manufacturer's drawing for the adjustment method specific to your isolator model.
Make reach adjustments in small increments, typically 2 to 3 mm at a time. After each adjustment, manually operate the isolator through a full open-close-open cycle and observe the blade tip entry into the contact jaw.
Check both blade arms on a double break isolator independently. Do not assume they are identical from the factory. Measure and adjust each arm separately.
Step 5: Align Contact Jaw Height and Lateral Position
Blade reach adjustment ensures the blade arrives at the right depth. Contact jaw alignment ensures the blade arrives at the right height and lateral position.
Height alignment:
The blade tip must enter the contact jaw at the correct height so that it engages the full width of the contact fingers, not just the top or bottom edge. Jaw height is adjusted by shimming or repositioning the fixed contact assembly on the end column mounting flange.
Use a straight edge placed across the blade tip and the contact jaw entry to confirm height alignment. The blade and jaw centrelines must be co-planar within the manufacturer's specified tolerance, typically plus or minus 2 mm.
Lateral alignment:
The blade must enter the contact jaw on the jaw centreline, not offset to either side. Lateral offset causes uneven contact finger loading, reduces effective contact area, and accelerates contact wear on one side.
Lateral alignment is adjusted by rotating the fixed end insulator column slightly on its base mounting, or by adjusting the contact assembly laterally on its mounting plate where this adjustment is provided.
After adjusting both height and lateral position, operate the isolator through multiple full cycles and recheck both parameters. Adjustment interactions are common and a height adjustment can affect the apparent lateral alignment.
Step 6: Verify Contact Penetration and Finger Pressure
This is the most critical alignment step and the one most often skipped in the field.
Correct contact penetration depth and contact finger pressure directly determine the contact resistance of the closed isolator. Too little penetration means insufficient contact area and high resistance. Too much penetration means the blade is bottoming out and the contact spring fingers are over-compressed, reducing their grip and accelerating wear.
How to verify contact penetration:
With the isolator in the fully closed position, measure the distance between the blade tip and the back of the contact jaw using a depth gauge or feeler gauge at the jaw entry. Compare this measurement to the specified penetration depth on the manufacturer's drawing.
How to verify finger pressure:
The contact finger pressure can be assessed qualitatively by attempting to withdraw the blade manually with the mechanism disconnected. The resistance to withdrawal should match the manufacturer's specified contact withdrawal force, typically measured in Newtons or kilograms force.
A blade that withdraws too easily indicates insufficient contact pressure. A blade that requires excessive force to withdraw indicates over-penetration or contact jam.
Step 7: Carry Out Contact Resistance Measurement
Once mechanical alignment is confirmed satisfactory, carry out a contact resistance test on the fully closed isolator before any further commissioning steps.
Test procedure:
Using a calibrated micro-ohmmeter or contact resistance test set, inject a DC test current of 100A through the isolator in the fully closed position. Measure the voltage drop across the contact assembly using the four-wire Kelvin connection method.
Calculate the contact resistance from the voltage and current readings.
Acceptance criteria:
The measured contact resistance must not exceed the value specified in the manufacturer's datasheet and test certificate. For a 220 kV outdoor isolator carrying 1600A or above, typical contact resistance acceptance values are in the range of 50 to 150 micro-ohms depending on the contact design.
If the measured value exceeds the acceptance criterion, do not commission the isolator. Return to the blade alignment and contact penetration steps to identify and correct the cause before retesting.
Document the contact resistance test result on the commissioning test record sheet along with the ambient temperature at the time of measurement.
Step 8: Set and Verify the Operating Mechanism End Stops
The operating mechanism end stops define the fully open and fully closed positions of the isolator. Correctly set end stops ensure the mechanism does not over-travel past the designed contact position and do not under-travel leaving the contacts partially engaged.
Checking end stop settings:
Operate the isolator to the fully closed position. Confirm that the mechanism reaches its closed end stop and that the blade is in the correct contact engagement position verified in the earlier steps. The mechanism must not be pressing against the end stop with excessive force, which would indicate over-travel.
Operate the isolator to the fully open position. Confirm the blades are at the correct open angle as specified in the manufacturer's drawing and that the mechanism is resting against the open end stop with the correct residual spring pre-load.
For motor-operated mechanisms, confirm that the limit switches actuate at the correct positions and that the motor cuts out cleanly at both end positions without hunting or over-running.
Step 9: Perform Full Operational Testing
With all mechanical alignments confirmed and contact resistance verified, carry out a complete operational test sequence before the isolator is handed over for energisation.
Manual operation test:
Operate the isolator through a minimum of five complete open-close cycles manually. The operation must be smooth and consistent throughout the full stroke with no binding, sticking, or irregular resistance points. Record the operating force at the mechanism handle using a spring balance.
Motor operation test (where applicable):
Operate the isolator through a minimum of five complete open-close cycles using the motor drive. Confirm correct operation from local control, remote control panel, and SCADA if connected. Verify position indication signals at all control points after each operation.
Earthing switch operation test:
If an integrated earthing switch is fitted, test its operation independently through a minimum of three complete cycles. Verify the interlock between the main isolator and earthing switch prevents simultaneous closure of both.
Final visual check:
After all operational testing, carry out a final visual check of the complete isolator assembly. Look for any fasteners that may have loosened during testing, any signs of contact scoring from the test cycles, and any misalignment that may have developed during the test sequence.
Step 10: Document Everything Before Handover
A commissioning record that cannot prove alignment was correctly carried out is worth nothing during an incident investigation or warranty claim.
The commissioning record must include:
- Foundation levelness measurements with date and engineer signature
- Insulator column plumbness measurements
- Blade reach and contact jaw alignment measurements
- Contact penetration depth measurements
- Contact withdrawal force measurements
- Contact resistance test results including test current, measured resistance, acceptance criterion, and ambient temperature
- Operating mechanism force measurements
- Motor operation test results including operating times and current draw
- Earthing switch test results
- Snag list of any items found and corrected during commissioning
- Final sign-off by the commissioning engineer and the client representative
This document is not just a formality. It is the baseline reference against which every future maintenance inspection and contact resistance test will be compared. Protect it and file it with the substation records.
Common Alignment Mistakes That Cause Problems Later
Even experienced teams make these errors. Being aware of them prevents repetition.
Adjusting blade reach without checking column levelness first. Blade adjustments made on an unlevel structure will be wrong once the structure is corrected.
Relying on visual contact alignment without measuring contact resistance. A contact that looks good can have poor electrical contact due to surface oxidation or insufficient finger pressure.
Skipping the contact withdrawal force check. Under-pressure contacts pass the contact resistance test initially but degrade rapidly in service.
Setting motor limit switches by timer rather than by position. Always set limit switches to actuate based on the confirmed mechanical end position, not on an estimated operating time.
Not retesting after snag corrections. Any mechanical adjustment made to correct a snag requires a retest of all affected parameters before sign-off.
Why SPKN India 220 kV Outdoor Isolators Are Built for Precise Field Alignment
Equipment that is manufactured to tight tolerances is significantly easier to align correctly in the field. Sloppy manufacturing tolerances mean hours of shim adjustments and compromise settings that never quite achieve the design intent.
SPKN India designs and manufactures 220 kV Outdoor Isolators with field alignment in mind from the very first drawing.
- Precision-Machined Contact Assemblies: Contact jaws and blade tips are machined to tight dimensional tolerances, ensuring consistent contact penetration and finger pressure across every unit supplied.
- Adjustable Linkage Systems: SPKN India isolators incorporate purpose-designed turnbuckle and clevis adjustments in the operating linkage, making field alignment straightforward and repeatable without requiring custom shimming or fabricated spacers.
- Comprehensive Alignment Drawings: Every SPKN India 220 kV isolator is supplied with detailed alignment drawings that specify exact dimensions, angles, contact penetration depths, and acceptance criteria for every alignment parameter.
- Factory Pre-Alignment and FAT: Each isolator undergoes factory pre-alignment and a Factory Acceptance Test before despatch, which verifies contact resistance, operating forces, and mechanism travel to the specified parameters. This gives commissioning teams a verified baseline to work from on site.
- Site Technical Support: For complex installations or where alignment challenges arise on site, SPKN India's technical team provides direct support to commissioning engineers to resolve issues and achieve correct alignment.
- Full Standards Compliance: Manufactured to IS 9921 and IEC 62271-102 with type test certification, ensuring every performance parameter is independently verified.
You can also explore SPKN India's complete range of 132 kV and 400 kV outdoor isolators, vacuum circuit breakers, and substation switchgear for your complete transmission project requirements.
Conclusion
Aligning a 220 kV Outdoor Isolator after installation is not a step to be rushed or skipped. It is a precise, methodical process that directly determines whether your isolator will perform safely and reliably for its full design life or become a maintenance problem and a safety risk within a few years of commissioning.
Follow the ten steps in this guide. Use calibrated instruments. Measure everything. Document everything. And start with equipment that is manufactured to the tolerances that make correct alignment achievable in the first place.
Contact SPKN India today for technical datasheets, alignment drawings, and commissioning support for your 220 kV Outdoor Isolator project.
Frequently Asked Questions
Q1. How long does alignment of a 220 kV Outdoor Isolator typically take on site? For an experienced commissioning team with the correct tools and manufacturer drawings available, a thorough alignment and contact resistance verification of a single 220 kV double break isolator typically takes four to six hours. Rushing this process to save time is a false economy given the consequences of incorrect alignment.
Q2. What contact resistance value should I expect from a correctly aligned 220 kV Outdoor Isolator? Typical contact resistance values for a correctly aligned and properly assembled 220 kV isolator fall in the range of 50 to 150 micro-ohms when tested at 100A DC. Always refer to the specific acceptance criterion in the manufacturer's type test certificate for the exact value applicable to your isolator model.
Q3. Can blade alignment be adjusted after the isolator has been energised and in service? No. Blade and contact alignment adjustments require the isolator to be fully de-energised, isolated, and earthed before any mechanical work is carried out. Alignment work on a live or partially isolated 220 kV isolator is not permitted under any safety protocol.
Q4. What should I do if the contact resistance test result fails the acceptance criterion? Do not commission the isolator. Return to the blade reach and contact penetration steps and verify that the blade is engaging the contact jaw at the correct depth and the contact fingers are applying the correct pressure. Clean the contact surfaces if oxidation is present. Retest after each corrective action until the acceptance criterion is met.
Q5. How does ambient temperature affect the contact resistance measurement? Contact resistance measured at high ambient temperatures will be slightly higher than at low temperatures due to the temperature coefficient of resistance of the contact materials. Always record the ambient temperature at the time of measurement and apply the temperature correction factor specified in the manufacturer's documentation when comparing test results taken at different temperatures.
Q6. Does SPKN India supply alignment drawings and commissioning documentation with every isolator? Yes. Every 220 kV Outdoor Isolator supplied by SPKN India is accompanied by a complete documentation package including installation and alignment drawings, commissioning test record sheets, operating and maintenance manual, and factory test certificates. This documentation is provided in both printed and digital formats.
Q7. What is the most common alignment error found during 220 kV isolator commissioning in India? The most frequently observed alignment error in Indian substation commissioning is incorrect contact penetration depth, either insufficient due to short blade reach adjustment or excessive due to over-travel past the contact jaw. This is why contact resistance testing after mechanical alignment is mandatory and not optional.